boat building goals...

'There is a lot of work to get the hulls completed to this stage you see here. Having said that,
 here are some huge key goals that can be ticked from the whiteboard plan'.


The hulls are at a stage where they need fairing, so the glass has already been laid before turning them upright. Added
 to this is the lower bridgedeck which on its underside has been glassed and faired.
 It saves huge headaches having to not work upside down at a later stage.

Catamaran Hulls: Unite

If we wanted to be sailing within five years, we were going to need assistance during the building process and we needed to move fast and we needed to talk to someone about it. My father passed on some kind words of wisdom during this time suggesting that we locate or get someone to complete the hulls at least, which would give a huge kick-start to the whole process.

These words of wisdom come from someone who has been there and done that. Armed with this, we tracked down a pair of 10.5m hulls on the Sunshine Coast, but for one reason or another chose to go with a larger vessel.

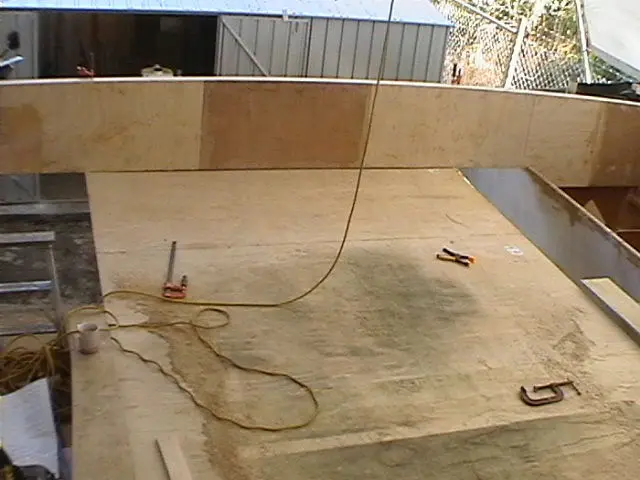
We put this to the Snell's and low and behold, an offer was made to build the hull shells and lower bridgedeck floor for us, at a cost of course and these three components would be ready within two months.

"Two months" we muttered quietly, "No shed, no money, no tools...no idea". We did part with a cheque that day by the way.

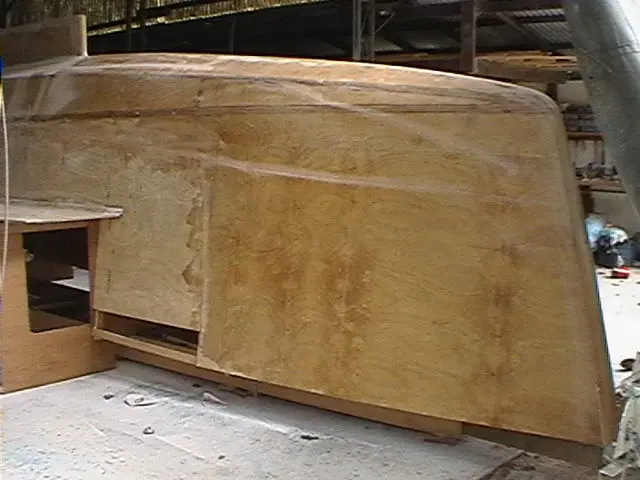
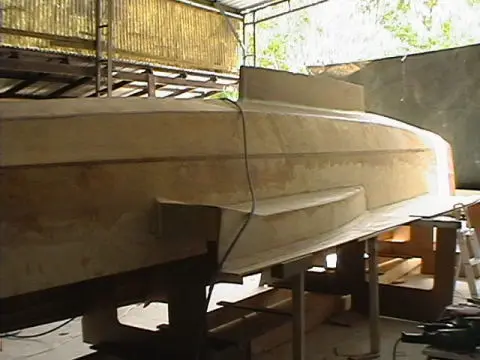
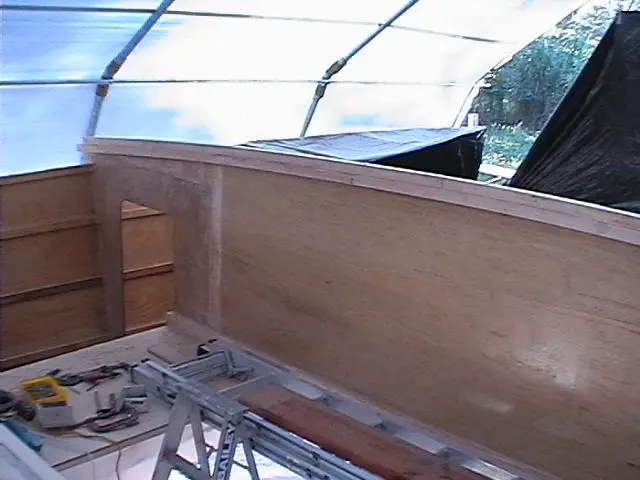
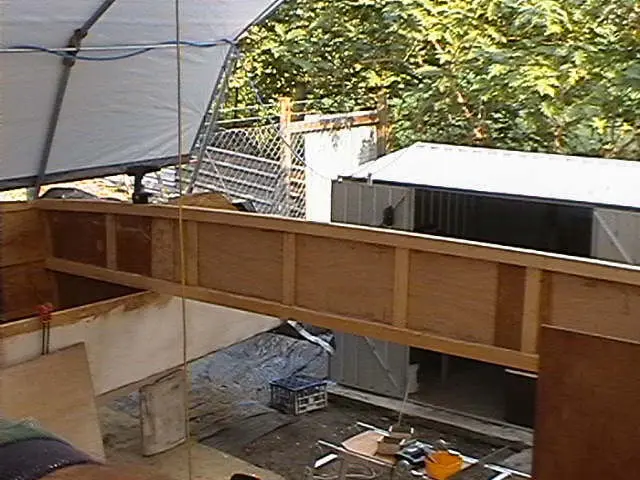
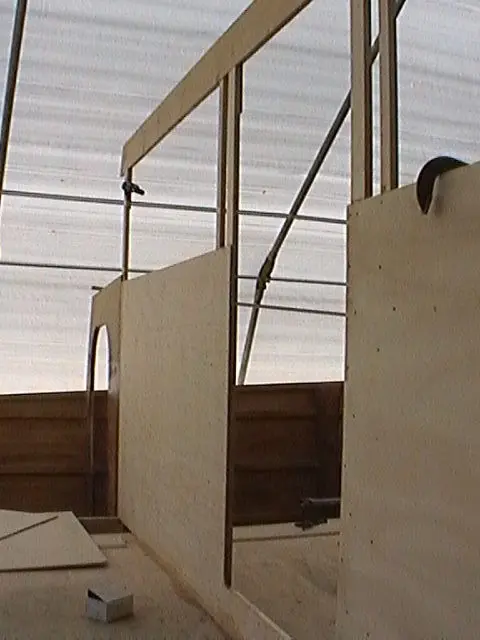
Its not until you see Peter (some 6' 3" tall - give or take a few hairs) that you realise just how large these hulls are. What you see here is only half of the final boat height. Quite awesome.

Catamaran hulls are very cumbersome to manoeuvre. Just food for thought for those intending to go this route, transportation of these items can be very expensive and that's a story in itself for another day.

Things were moving well, so we went out and had another chat to Peter and Anne. Not to bore you here, we detail this and plenty more in our Books.

catamaran hulls

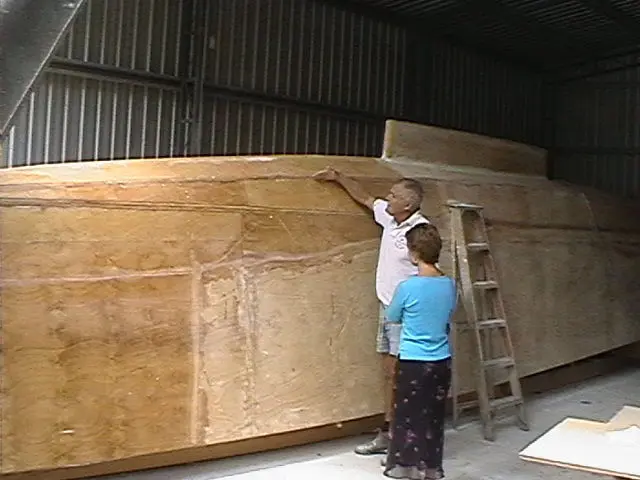
Starboard Hull designer Peter Snell


Frames to lower bridgedeck

The main frames form the structural growth of the yacht. If you have chosen to go with an Easy, this next batch of slides will make sense when you compare them to the plans.

If you do not have the plans yet, there are key frames that join the hulls together.

catamaran building

Starboard hull - completed and glassed. Ready for fairing.

catamaran building

Inside the upturn hull after it's build. The various frames are yet to be trimmed down, providing additional rigidity while assembling to the lower bridgedeck.

catamaran building

Starboard hull faired. Some builders do the painting of the hull at this early stage, making it a lot easier to paint than being on your back once assembly is complete. We chose not to do this.

catamaran building

Both hulls the right way up and the lower bridgedeck (on the floor) ready to be raised and attached.

building a catamaran

Before the lower bridgedeck is raised, the frames are built. The frames are heavily resined inside and out, then strengthened with additional frame sections, shown in the next slide.

catamaran building

This provides a sturdy foundation to raise the bridgedeck too. This is one of the key frames on this yacht with a lot of specific internal build sections, to meet the designer specifications.

catamaran building

This is the previous slide now complete.

catamaran building

The last of the frames, aft frame. It too needs rigidity and has specific pieces fitted internally as per the designer specifications. We added further to it's strength with the cupboard we built during fitout.

catamaran building

Main frames complete, up comes the lower bridgedeck. A huge day, with a celebration or three. I have previously discussed mini-goals, this was one of ours. We went out to dinner.

catamaran building

Working from the lower bridgedeck, the lesser frames are built. This one being the main door frame.


These 'Frames' form a big role in the overall strength of the boat and three of them are 'Structural'. They are all cambered and will later form the base for the bridgedeck roof.

yacht plinth

Boatbuilding Plinths

Plinths are 9mm pieces of ply, cut to size with a 10-20mm overlap and routed around the external edge. They are used to place under deck fittings normally on the horizontal, and their primary function is to reduce the possibility of water ingress around the screwed areas.


This meant that the plinths had to be beefed-up to take the stresses and moments we would be placing on areas such as the forebeam. We had been told that one should always winch from a horizontal surface as the sideways stress moments would eventually cause unnecessary wear on the beam/winch bolt points.

This did unravel its own set of new questions and became challenge 'number one'.

> Where will the boom-traveller tracks to be laid?
> What is a boom traveller?
> How many stanchions were required per side?
> Where will the water inlet be laid?
> Above the external lockers, which side do we lay the hinges (fore or aft) and why?
> Where will the winches go?

The latter being very tricky, as the turret hatch we had installed will directly affect the number of winches on that side. You needed this information for deciding on plinth sizes and positions.

Having made the plinth-decision, it was not until we got started making these bits that we realised how many there were.

> Under the deck locker hinges (two per hinge),
> Under the cleats (three per side),
> Under the mast electrical connection, water filler neck, stanchions, winches, tracks, turning blocks etc. The list just kept growing.

Sailboat anchor roller

Anchor Roller System

We have chosen to expand in this area given our inexperience (or lack of...) in the anchoring of such large vessels. We needed everything to be on our side when 'Murphy comes knocking'.

Unless one is aware of all the anchor limitations during the retrieval process, a no-nonsense approach is almost mandatory.

This meant that the anchor system had to be beefed-up to take the stresses and moments we would be placing on the beam area.

Anchors should always be winched from straight ahead as the sideways stress moments would eventually cause unnecessary wear on the winch motor and the system itself.

While this may appear a little eccentric, for those who are not in a real hurry, these can prove very useful and remove possible repairs at a later stage, additional insurance as we saw it.

Others had told of wearing bushes on the winch rollers themselves and even rollers coming away during retrieval mechanism - this became challenge number two.

The roller system also needed to pull the anchor into the full-up position and not damage the timber fore beam in any way.

The latter forced us to make a decision on the primary anchor type that we needed and this ended up being a Sarca. We say primary as two other anchors will also be carried.

This type of anchor, while expensive, is designed to withstand a variety of bottom types including mud, sand, gravel and rock, offering superb holding power in all conditions - so they say.

It also happens to have a self-righting arc over the top of the anchor making initial anchoring easier.

The Sarca Anchor top arc also went into the build equation, as it does stand out a little and could easily damage the fore beam if not managed correctly. The Sarca also happened to be one of the physically larger anchor types making the fitting of any other anchor type within the Anchor-winch-assembly, easy. 

Much more anchor roller assembly on the Mast build and Anchor roller assembly.

'Click the link above to read more on that topic'

This video contains snippets from initial building of the dome, to the hulls and eventual joining.

Must do, at this early stage

Planning should be well underway for electrical and Gas cabling.

1. Electrical conduits (with feeder lines) need to be laid at this early build stage. Read more

2. Water/plumbing conduit considerations... Read more

3. Steering and Gas considerations...Read more


Video says 'No access'? Empty your device 'cache', then 'refresh'.

© Copyright 2009-2024 www.diycatamaran.com - All Rights Reserved