Wattyl paints

Wattyl paints are owned by the Hempel Group (EU 2022)

'Their Poly-U 400 has been amazing. it lasted 10-years before a light sand and recoat.

We carry a tin permanently onboard for any touchups. Another reason to

always use a standard base colour'...James C

Fairing and two-pack undercoat painting

In our case, the last of the external fairing was tackled. A little more effort in prior preparation, paid dividends down the line with the finish.

It was at this late stage that an indentation was found down one side and it was back to filling and fairing all over again. With the kind assistance of a few friends namely Andy (may he rest in peace) and John, this was completed to perfection.

Added to this was our late decision to add plinths to the whole yacht. They all had to be made, glassed and faired. This did add another two weeks of part-time boatbuilding. From here it was smooth sailing, the rest of the undercoat was sprayed on in two thick coats. The following day, this was very lightly sanded, ready for the topcoat.

two pack undercoat

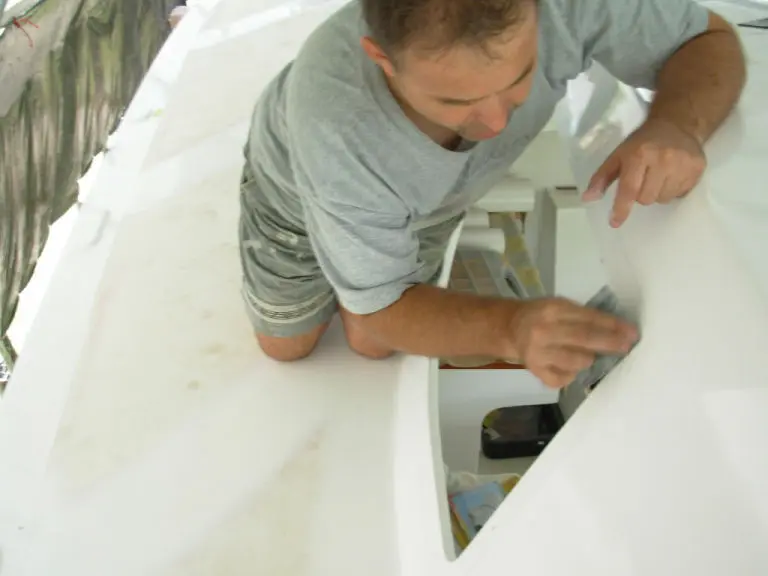
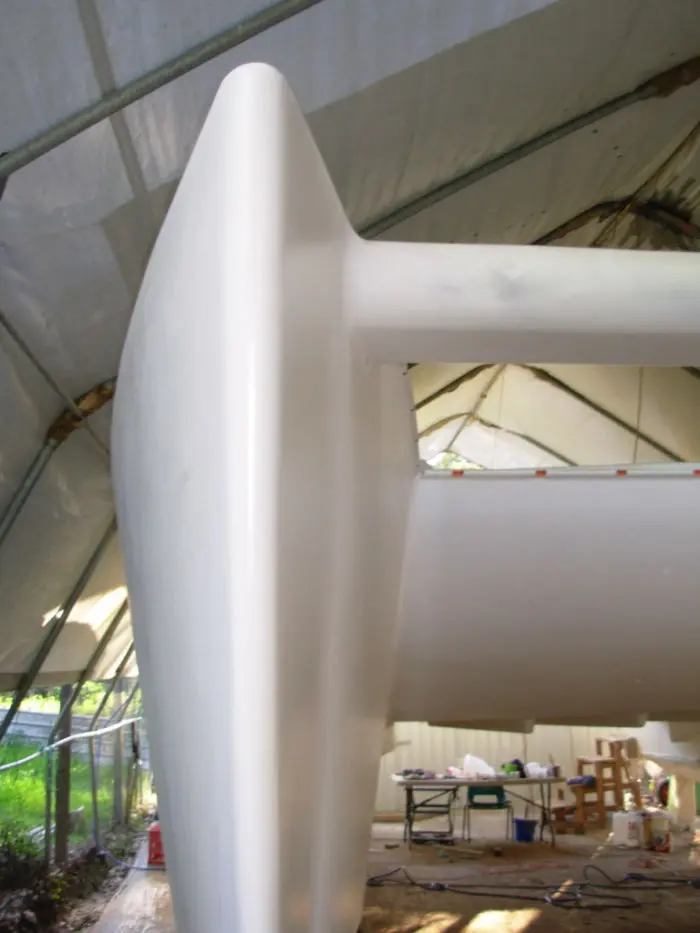
Finishing the last of the fairing...painting tomorrow.

two pack undercoat

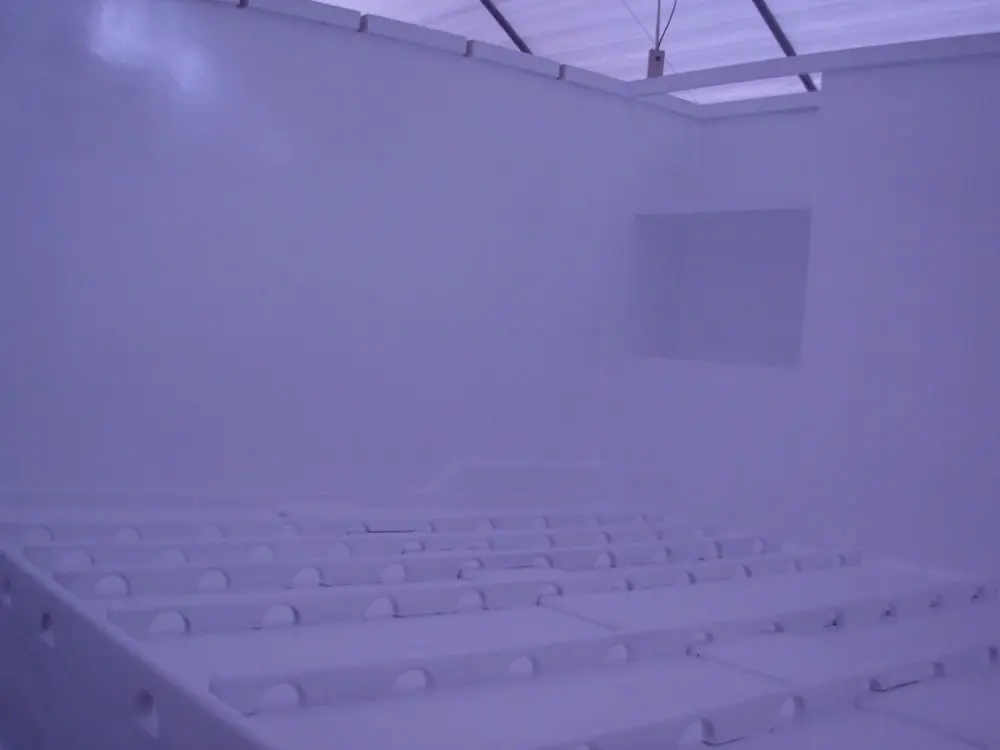
Thick layer of undercoat.

two pack undercoat

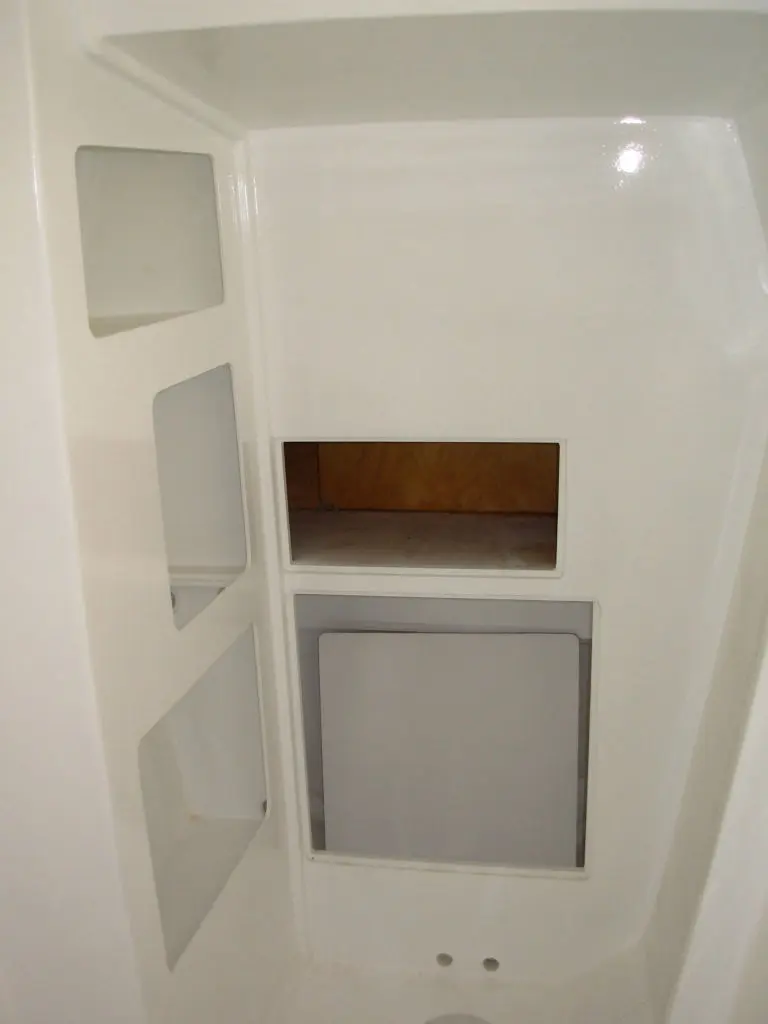
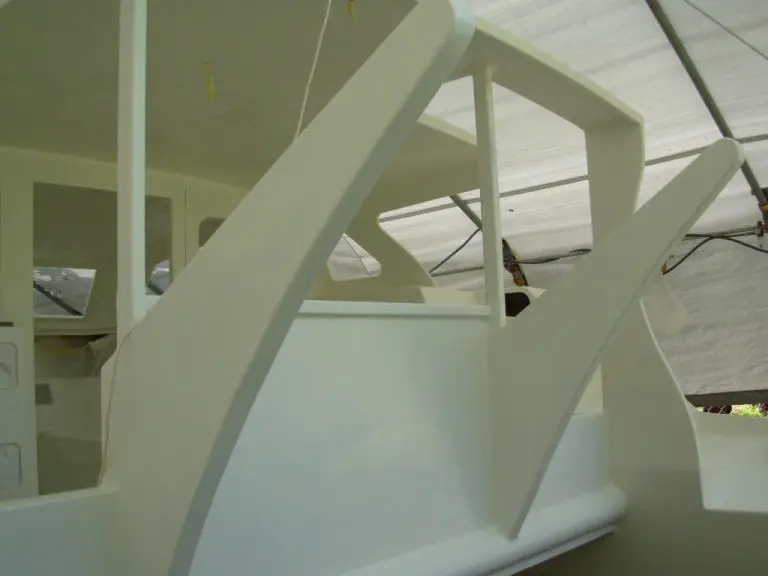
Starting to take shape.

two pack undercoat

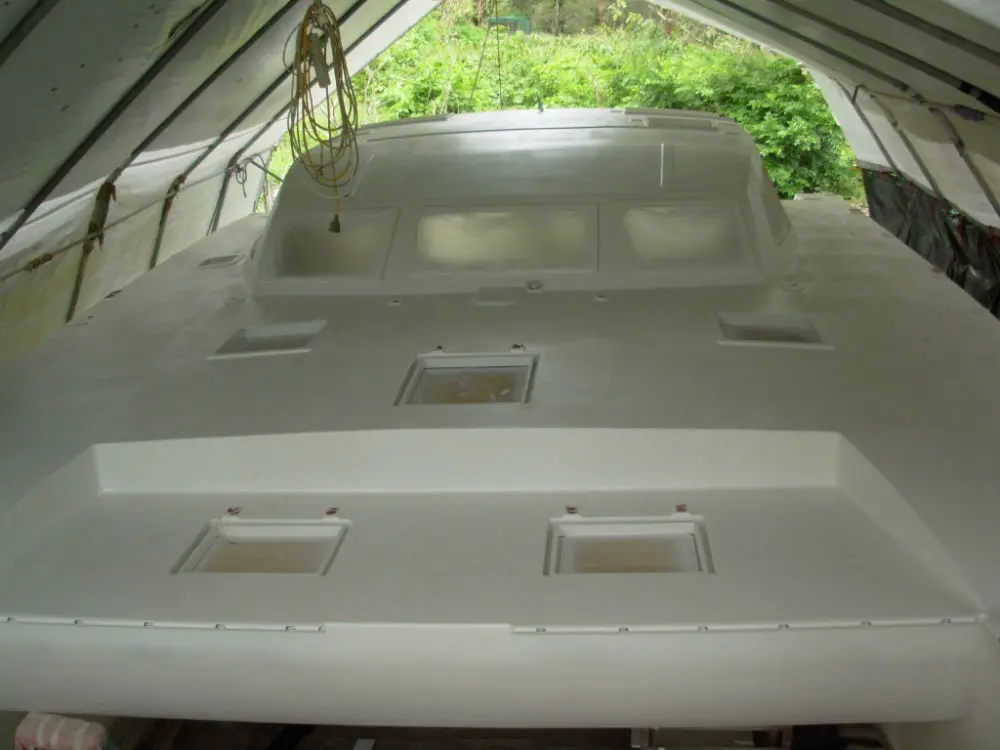
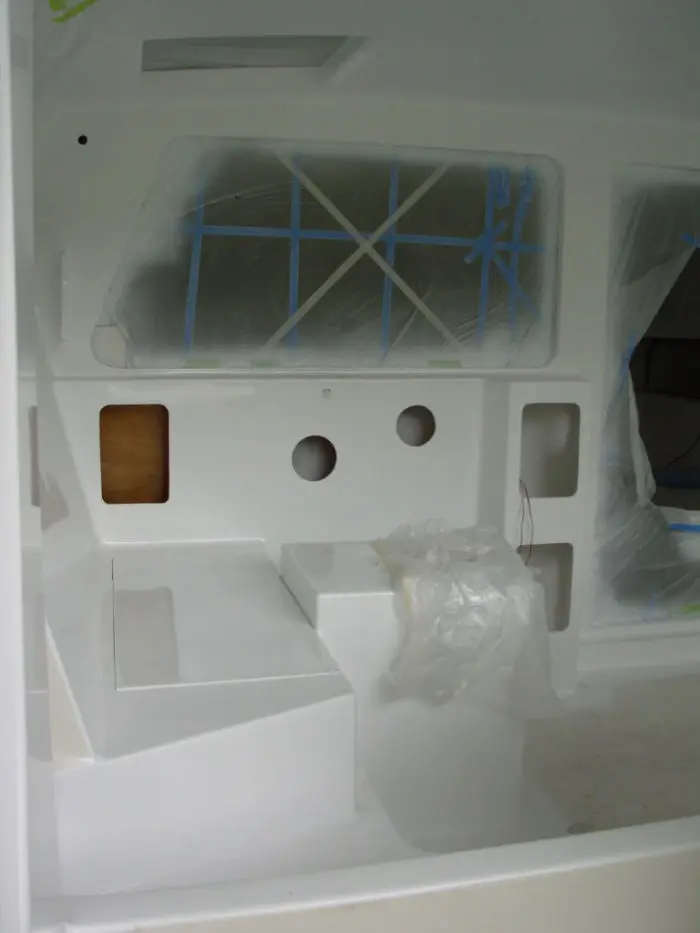
The second layer of undercoat applied.

two pack undercoat

Paint tends to hide blemishes really well.

two pack undercoat

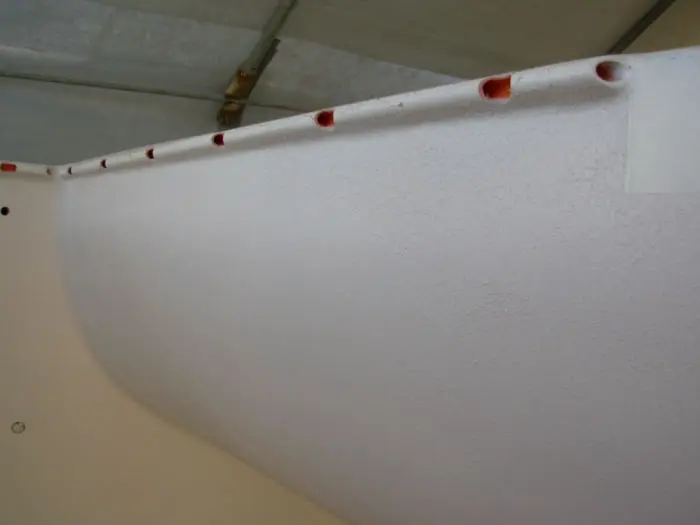
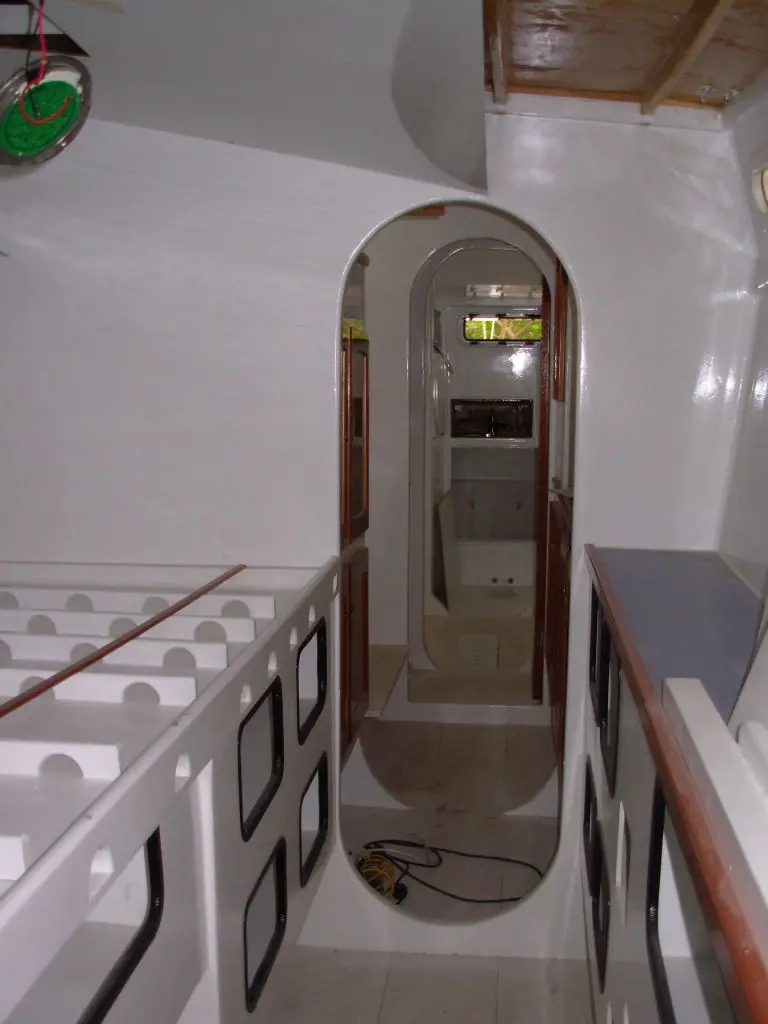
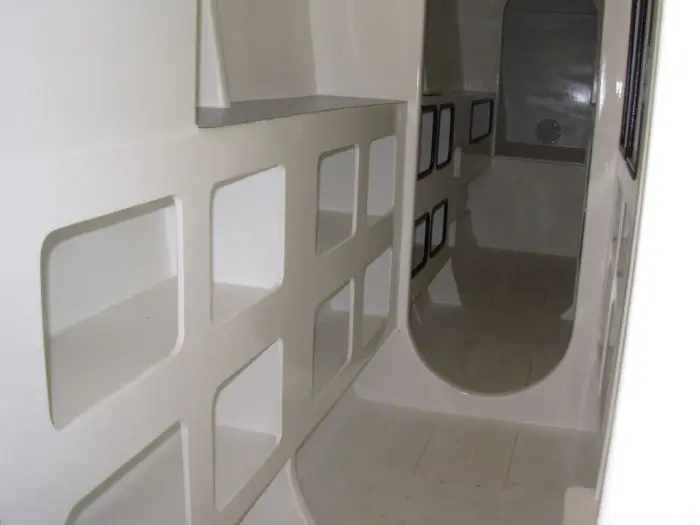
Bow lockers and lower bridgedeck stippled. The orange pipe glassed in and painted. This is used for securing the forward nets without the use of stainless steel fittings.

two pack undercoat

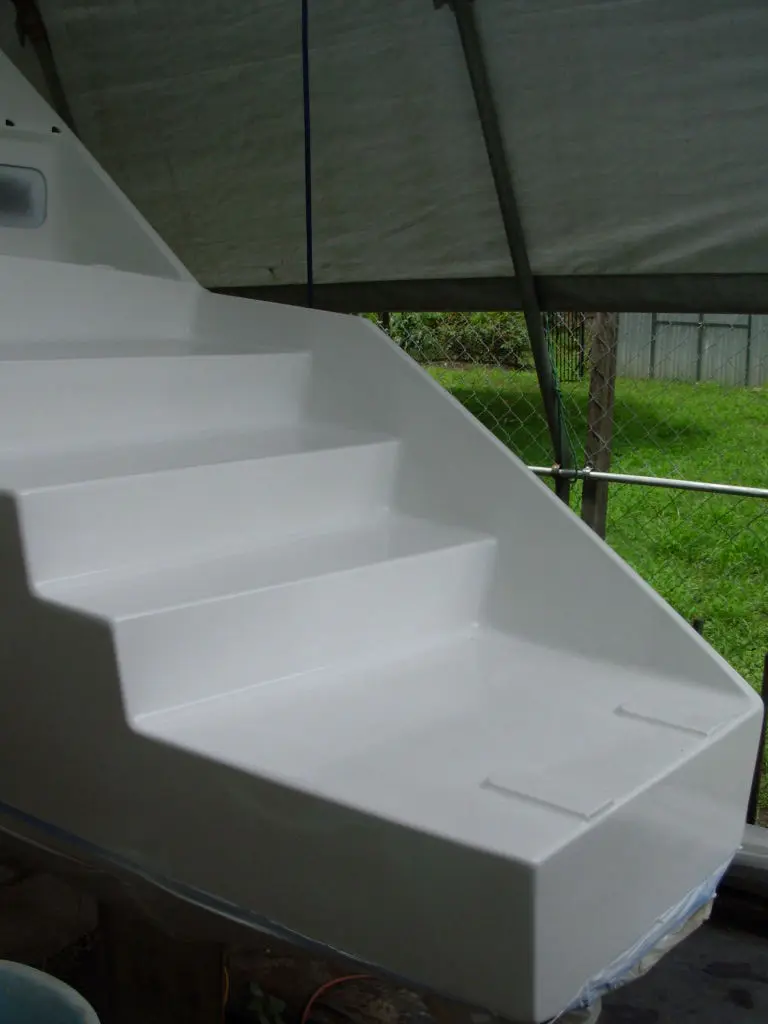
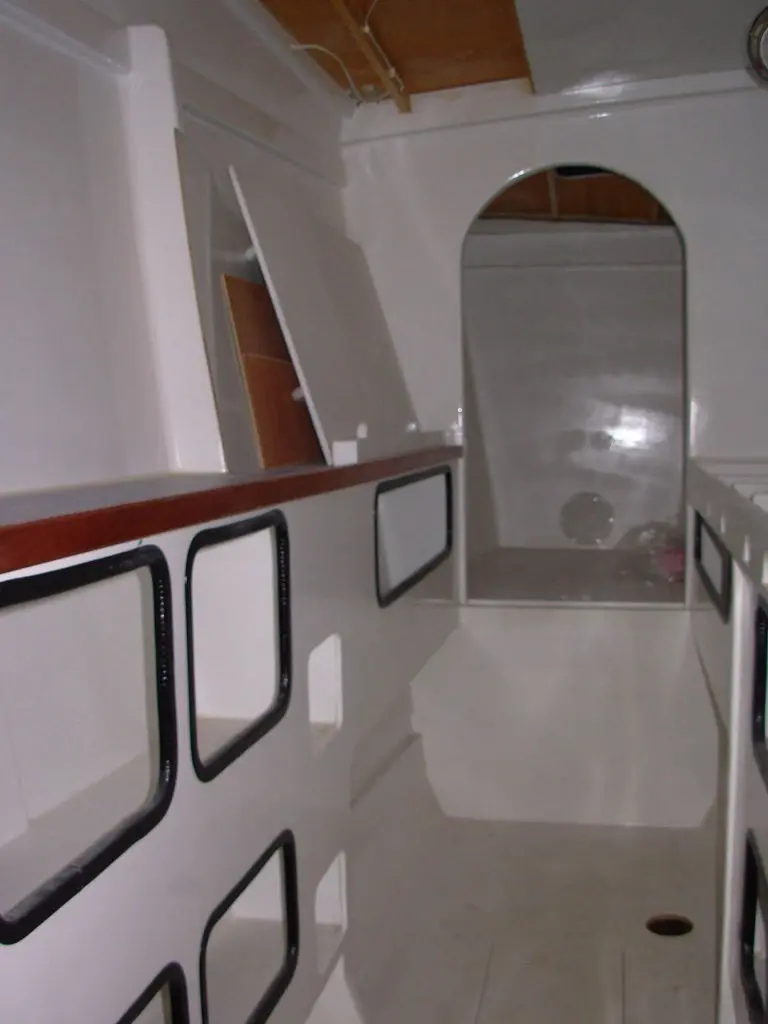
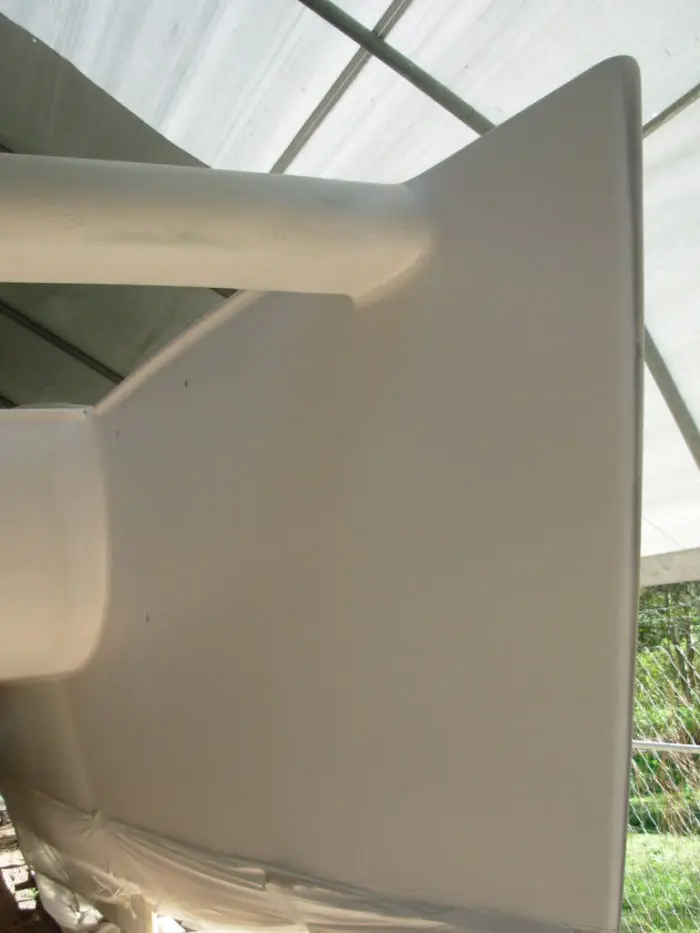
Aft steps have come up well with the ladder plinths blending in naturally.

two pack undercoat

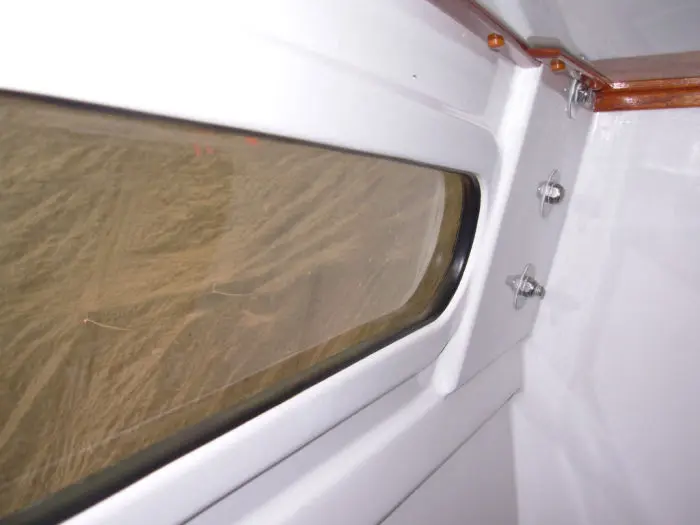
Thick undercoat made light work of sanding before the top coat.


The undercoat of the yacht finally shows its true colour (so to speak).

It's here that the painting learning curve starts. The small things that you once paid no attention to like daily temperature, humidity and measuring to the gram, finally hit home. These three things are so important in doing the job once and correctly.

The frustration of runs, spray nozzle blocking are so easily overcome with some self-training on possibly the inside of the hulls, till you get confident with your own painting practices.

Spray nozzles, spray-guns, respirators and compressors are supplied in more detail in our Books.

Choosing the correct Inline Airflow Respirators and spray equipment saves your health and definitely minimises the spray painting time. The 'Two-Pack Paint Warning' and 'Dont kid yourself about Two Pack Carcinogens' articles will be information well worth consideration.

Two Pack Carcinogens kill

"Dont kid yourself about two pack Carcinogens. Be around to enjoy all your hard work."

Read more information here.

Catamaran undercoat painting - internal

The ‘high-build’ undercoat was sprayed on with a large nozzle (around 2.5mm – 3mm).

Anything smaller tended to take too long with this type of undercoat and the undercoat needs to be further thinned prior to spraying.

They (the Wattyl paint technical advisors) are fairly particular with the thinners used too, as a stronger type is required with the resin based paints, a small blow as this now has doubled the thinners cost.

The initial undercoat took four full days to apply, which completed 95% of the internal fittings and what a magical difference.

All of a sudden the small imperfections had mysteriously gone and the white undercoat had done two things:
> Made the boat look larger internally, and
> Definitely lightened up the darker areas.

two pack top coat

Sorry about the light...one of the main rooms complete with below mattress stringers in place (for mattress ventilation).

two pack marine topcoat

Cockpit complete, awaiting fitout.

two pack marine paint

The finished product from the inside with a window in place.

two pack marine paint

Topcoat complete with trim and edging 'bling'.

two pack marine topcoat

Main room, very smooth which will make cleaning a treat.

two pack marine paint

Side cupboards waiting trim.

two pack marine paint

The 'head' area, ready for the toilet and edging.

two pack marine paint

Lockers came up a treat with the trim.


The second undercoat was then laid on thickly (using the 2.8mm spray nozzle).

The advantage with this was that all the blemishes were covered and small timber indentations / marks would be covered and when sanded back should come out reasonably smooth, which it did.

The disadvantage is the cost due to the increased amount of undercoat.

We have chosen to sand this initial coat back to a smooth surface (using 120 grit paper) even if it meant coming back to the timber in places.This did take a very long time, in fact four days longer than planned and we are not after a car gloss finish either.

When they are all in place, the painting system seems to work OK and run smoothly.

© Copyright 2009-2024 www.diycatamaran.com - All Rights Reserved