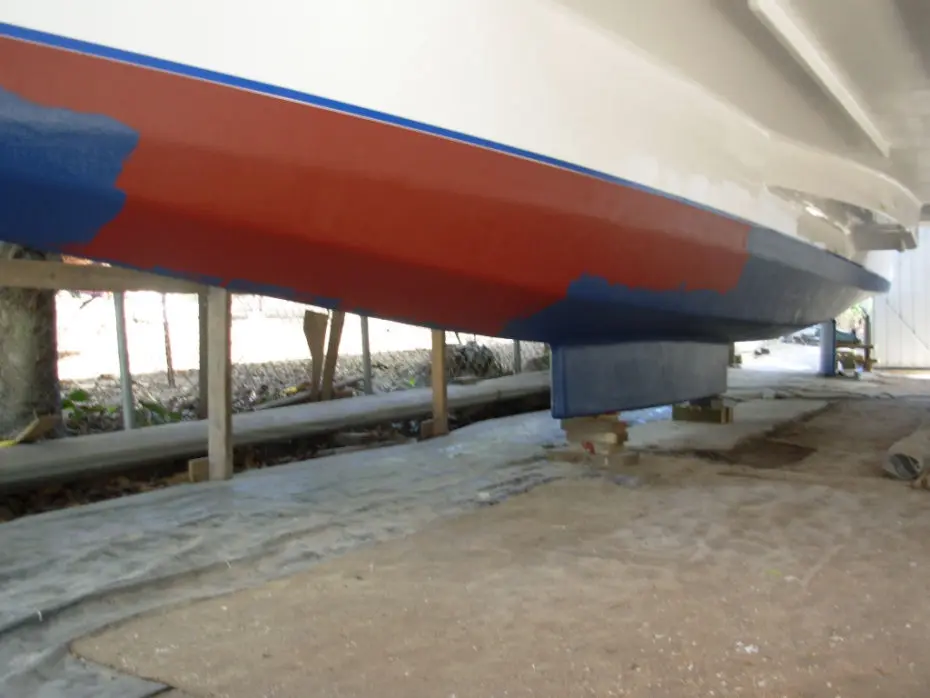
Antifoul, underwater paint, antifoul paint, marine antifouling ... what ever one calls it, usually is the last port of call during a build.
The marine environment can be very nasty and care had to be taken on how our below water marine painting was going to be tackled.
Commonly called 'antifouling', the process normally requires yachts to be 'slipped' each year and the antifoul repainted. Our yacht anti foul process ended up being a rainbow of various coats.
Given our mooring position and the grounding of the yacht twice a day, we tried to be proactive in the boat antifouling area.
The muddy bottom where the vessel will rest twice a day is very soft, so we are not expecting much scratching and gradual wear/abrasion of the anti foul surface.
We spoke to a few companies of which two allowed us to make contact with their 'Marine Paint Technicians’. In the end, we chose to stick with Wattyl Marine Products, even with the slightly higher and continual price rises. Time will tell if this decision was prudent.
The plan involved fairing the hulls to a reasonable level. It was then lightly sanded and the process began. The waterline became a talking point as this was the guide for the Anti foul limit.
We chose to go an additional 100mm above the designers waterline to cover for the additional weight we planned to carry and provide a ‘wave-buffer’ once in the water.
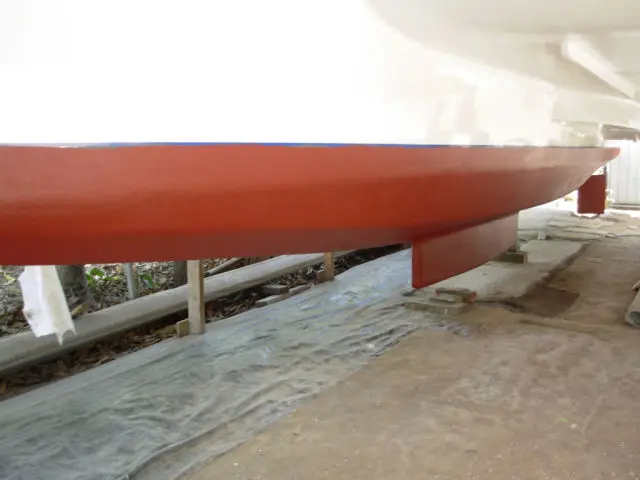
Given our mooring position and the grounding of the yacht twice a day, we tried to be proactive in the boat antifouling area.
The muddy bottom where the vessel will rest twice a day is very soft, so we are not expecting much scratching and gradual wear/abrasion of the anti foul surface.
We spoke to a few companies of which two allowed us to make contact with their 'Marine Paint Technicians’. In the end, we chose to stick with Wattyl Marine Products, even with the slightly higher and continual price rises. Time will tell if this decision was prudent.
The plan involved fairing the hulls to a reasonable level. It was then lightly sanded and the process began. The waterline became a talking point as this was the guide for the Anti foul limit. We chose to go an additional 100mm above the designers waterline to cover for the additional weight we planned to carry and provide a ‘wave-buffer’ once in the water.
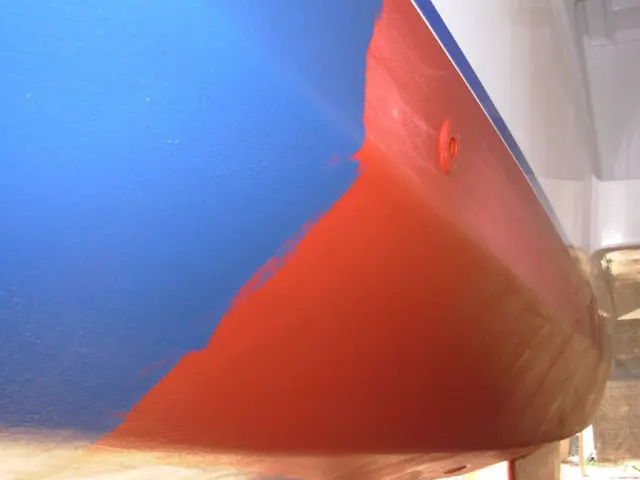
During the process we taped each third coat and moved the taping line up 2mm each time to provide a smoother gradient of paint coats to the top surface.
The edge will be finished with a sticky-strip at a later date, joining the two paint areas and finishing off the paintwork cleanly.
This was all done well ahead of the launch, contrary to what some have said about launching soon after painting.
The Wattyl tech-head told us that a light sand will re-activate the anti foul a day or so before launch. Another option is to put another coat on and build up further resistance. We have opted for the latter option.
As a follow-up and 6 years on since application, we are yet to see the Multiguard non-ablative layers of antifoul. This two-pack initial application silently acts as our insurance below the waterline.
There are four paint variations that we chose to use and were all rolled on:
1. Wattyl Epinamel PR250, two generous coats using 18Lt,
2. Wattyl Sigma EP Multiguard - lightly sanded, then painted a 200mm strip on all leading edges, then two generous coats using 18Lt,
3. Wattyl Sigma EP Tiecoat - lightly sanded, then two generous coats using 10Lt,
4. Wattyl Sigmaplane Ecol HA120 (Red and Blue in colour) -Lightly sanded, then two generous coats in Red , then two generous coats in Blue using 10Lt each, 20Lt in total.